Step‑by‑Step Workflow for Professional Headlight Restoration
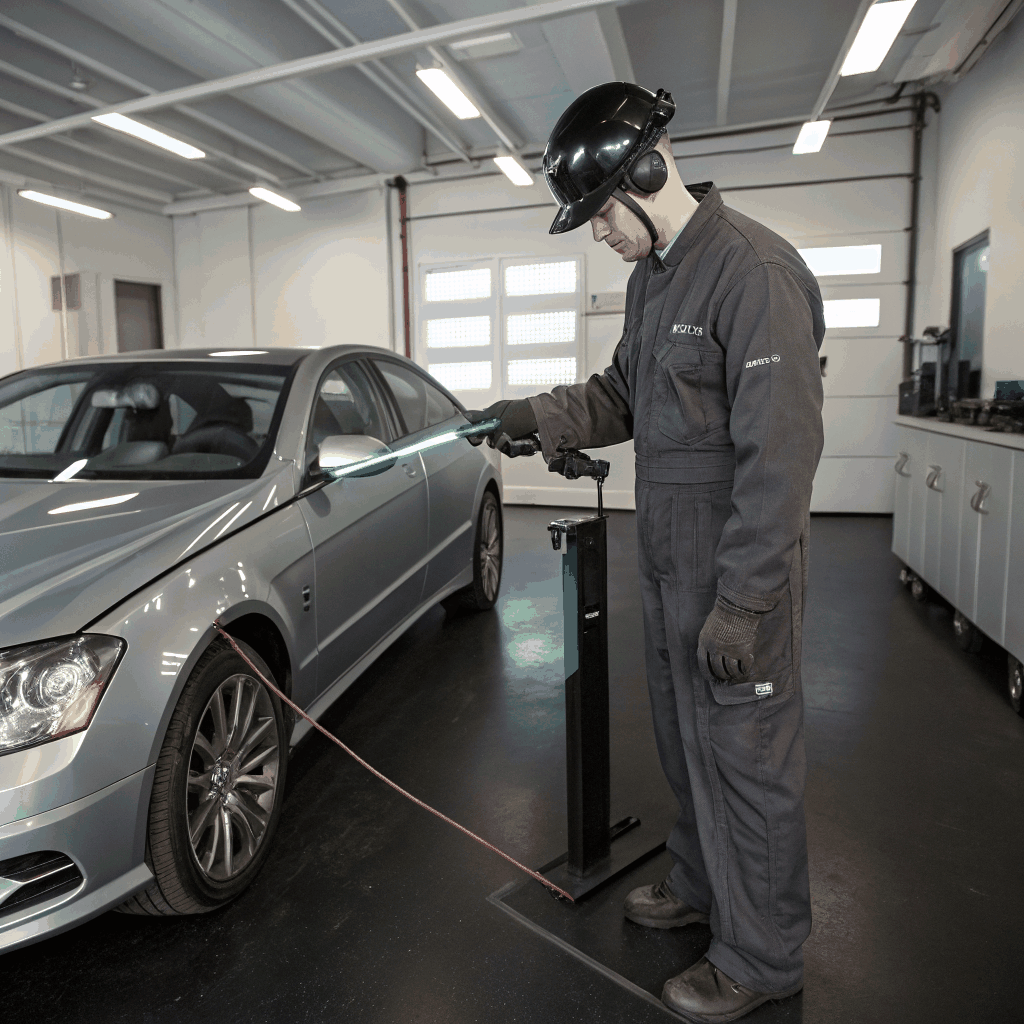
Start with a thorough inspection
– Examine the headlight for scratches, oxidation, and cracks.
– Use a light meter to gauge current brightness.
– Document findings with photos for client reference.
Prepare the surface
– Clean the headlight with a mild detergent and water.
– Dry completely to avoid water spots.
– Mask off surrounding paint with painter’s tape to protect the finish.
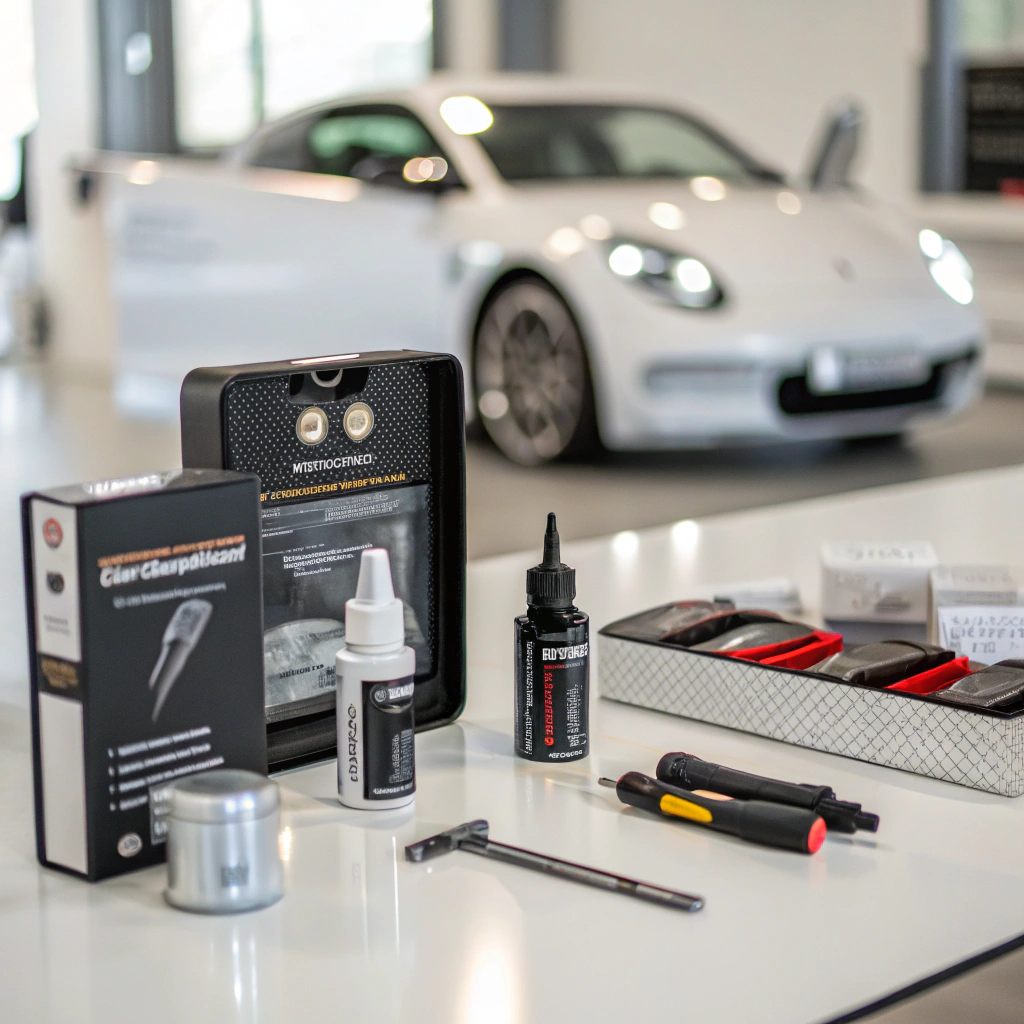
Apply the restoration kit
– Choose a kit that matches the headlight material (acrylic or polycarbonate).
– Follow the manufacturer’s instructions for mixing and application.
– Use a microfiber pad to spread the compound evenly, working in a circular motion.
Polish to clarity
– Switch to a finer grit pad or polishing compound.
– Polish until the surface is smooth and free of haze.
– Inspect under a light source to confirm a uniform glow.
Apply a protective coating
– Select a UV‑resistant sealant or clear coat.
– Apply a thin, even layer and let it cure per the product’s guidelines.
– Buff lightly to remove any excess residue.
Final quality inspection
– Re‑measure brightness and compare to the initial reading.
– Check for any remaining scratches or unevenness.
– Ensure the headlight meets the client’s expectations.
Customer communication
– Provide a written report detailing the work performed and care instructions.
– Offer a follow‑up appointment if the client desires a touch‑up.
– Encourage feedback to refine future workflows.
By following this structured approach, you’ll consistently deliver high‑quality, long‑lasting headlight restoration results that satisfy both you and your clients.