Capturing Headlight Restoration Results: A Photographer’s Guide
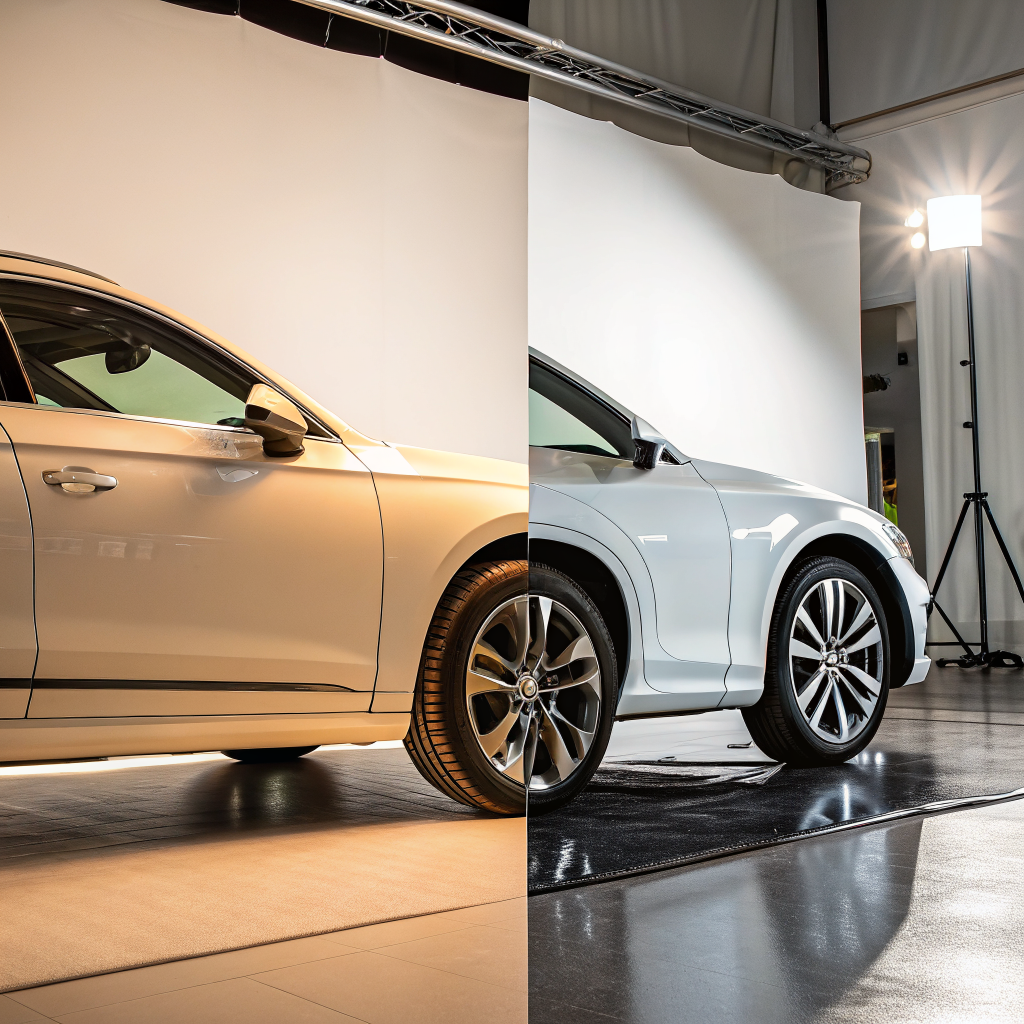
Consistent lighting is the cornerstone of a professional headlight portfolio.
– Use a light‑box or a dedicated studio space with diffused, white LED panels.
– Keep the light source at a 45° angle to the headlight to avoid glare while highlighting surface texture.
Mastering Angles
- Front‑on shot: Shows overall clarity and any remaining haze.
- Side‑profile: Reveals the depth of the restoration and any edge imperfections.
- Close‑up macro: Highlights the micro‑abrasion and the final polish.
Take each angle at the same distance and with the same camera settings to ensure comparability.
White Balance & Color Accuracy
- Shoot in RAW to preserve detail and allow post‑processing adjustments.
- Use a gray card or a white reference tile in the frame to set a neutral white balance.
- Calibrate your monitor with a hardware colorimeter before editing to maintain color fidelity.
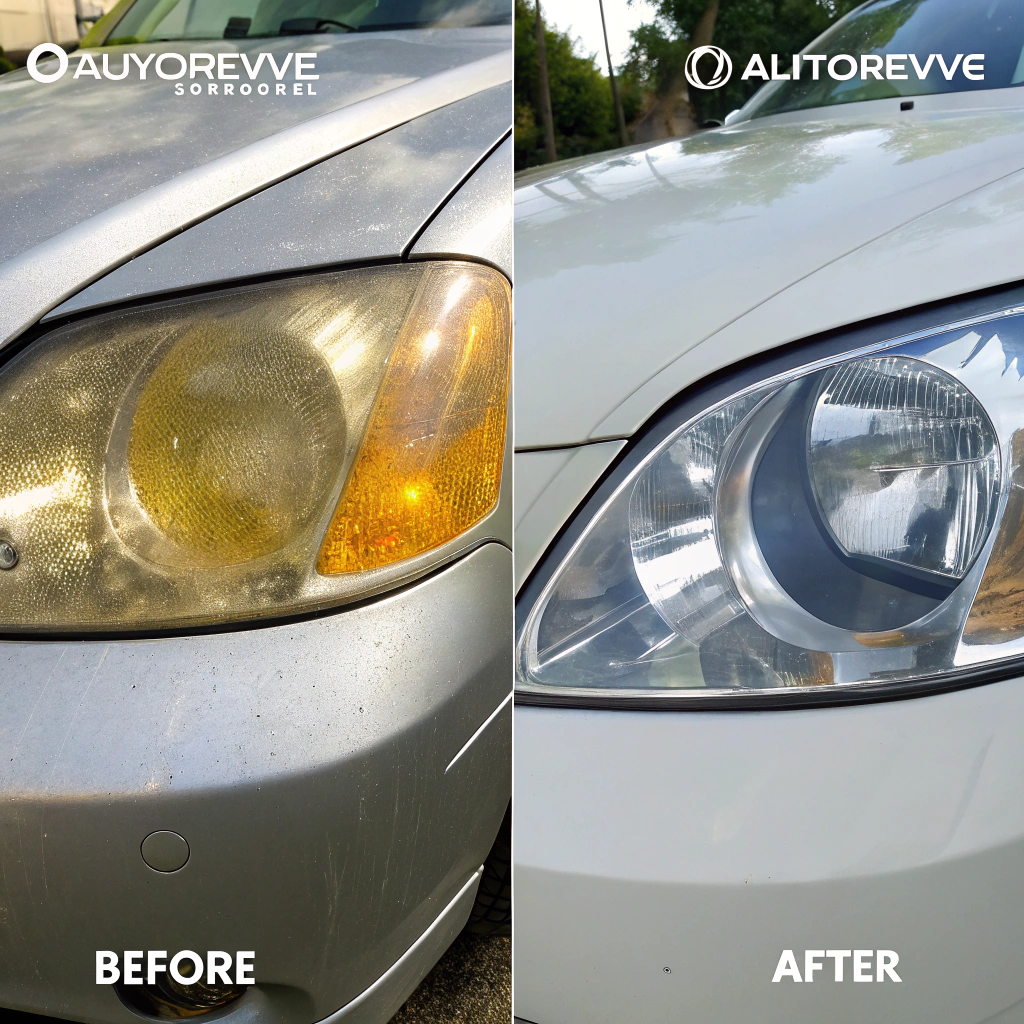
Before‑and‑After Pairing
- Align the before and after images using a grid overlay in your editing software.
- Crop to identical dimensions and remove any background clutter.
- Add a subtle watermark or logo in a corner to protect your work.
Editing Workflow
- Exposure & Contrast – Bring out the brightness without blowing out highlights.
- Clarity & Texture – Enhance micro‑details that showcase the restoration quality.
- Sharpening – Apply a mild sharpen to the final image, avoiding halo artifacts.
- Export – Save in JPEG (for web) and TIFF (for print) at 300 dpi.
Building a Compelling Portfolio
- Group images by project type (e.g., “Classic Car,” “Modern SUV”).
- Include a brief caption: vehicle make/model, restoration date, and key techniques used.
- Highlight customer testimonials next to the before‑after pairs to add credibility.
By following these steps, you’ll create a visually consistent, high‑quality portfolio that showcases your headlight restoration expertise and drives new bookings.