Common Headlight Restoration Mistakes and How to Avoid Them
When restoring headlights, even seasoned technicians can fall into a few recurring pitfalls. Spotting these errors early keeps your work flawless and your customers delighted.
-
Skipping a Thorough Clean
Mistake: Assuming a quick wipe‑down is enough.
Avoidance: Use a dedicated automotive degreaser and microfiber cloths. A clean surface is the foundation for every subsequent step. -
Using the Wrong Abrasive Grit
Mistake: Starting with a coarse grit and over‑sanding the plastic.
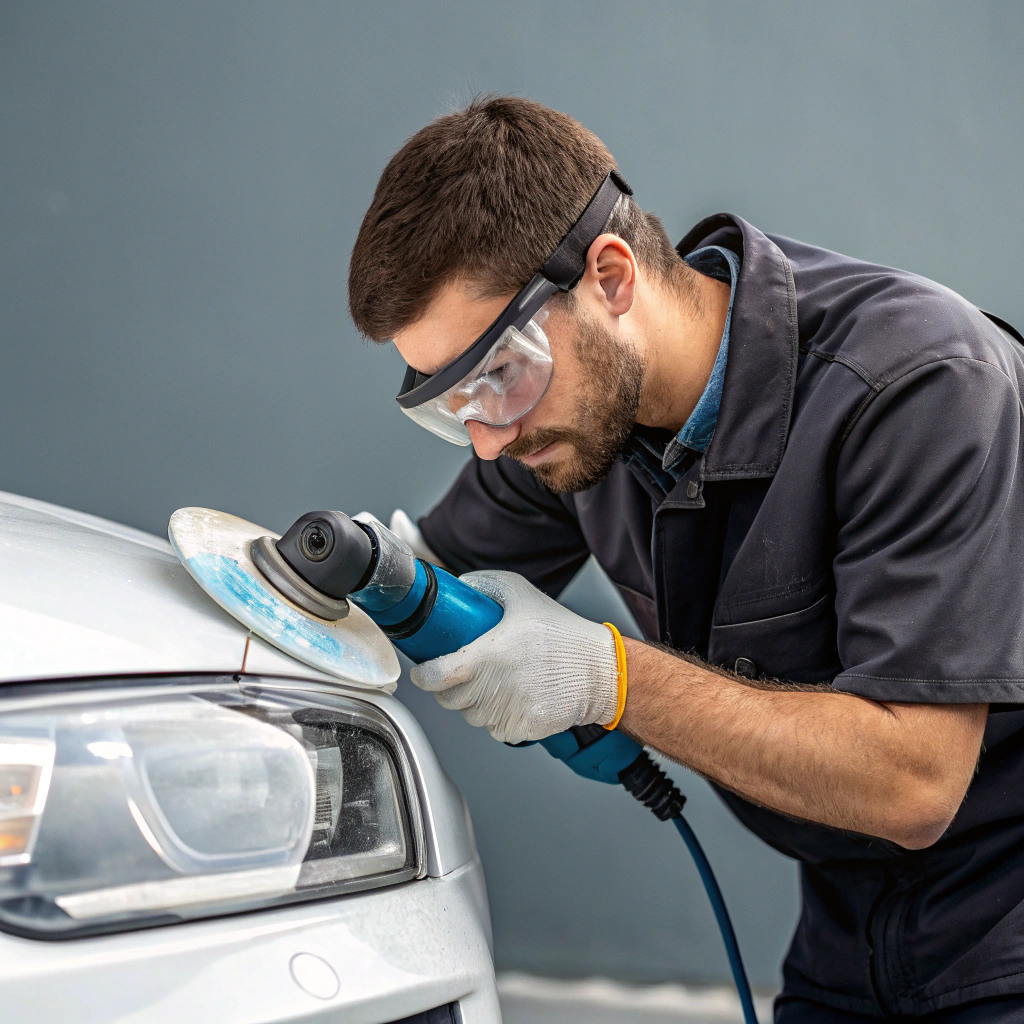
Avoidance: Follow a progressive grit sequence—begin with 800, move to 1500, and finish with 2000 or higher. Always test on a hidden area first. -
Neglecting Protective Coating
Mistake: Skipping the final sealant or applying it too thickly.
Avoidance: Apply a thin, even layer of UV‑resistant sealant. This protects the restored surface from future oxidation. -
Over‑Polishing
Mistake: Polishing until the headlight looks glassy, which can remove the protective film.
Avoidance: Polish just enough to remove haze. A quick visual check—if the headlight still appears slightly hazy, stop. -
Ignoring Environmental Factors
Mistake: Working in a dusty or humid environment.
Avoidance: Use a clean, well‑ventilated workspace and cover the headlight during drying to prevent contamination. -
Failing to Document the Process
Mistake: Not keeping a record of the steps taken or the products used.
Avoidance: Maintain a simple log for each job. This helps troubleshoot future issues and builds trust with clients.
Quick Quality Control Checklist
- [ ] Surface clean and dry
- [ ] Correct grit sequence completed
- [ ] Sealant applied evenly
- [ ] Final polish meets visual standards
- [ ] Workspace free of contaminants
- [ ] Job log updated
By avoiding these common mistakes, you’ll consistently deliver high‑quality headlight restorations that keep customers coming back.