Step-by-Step Video Tutorial: Restoring a Foggy Headlight
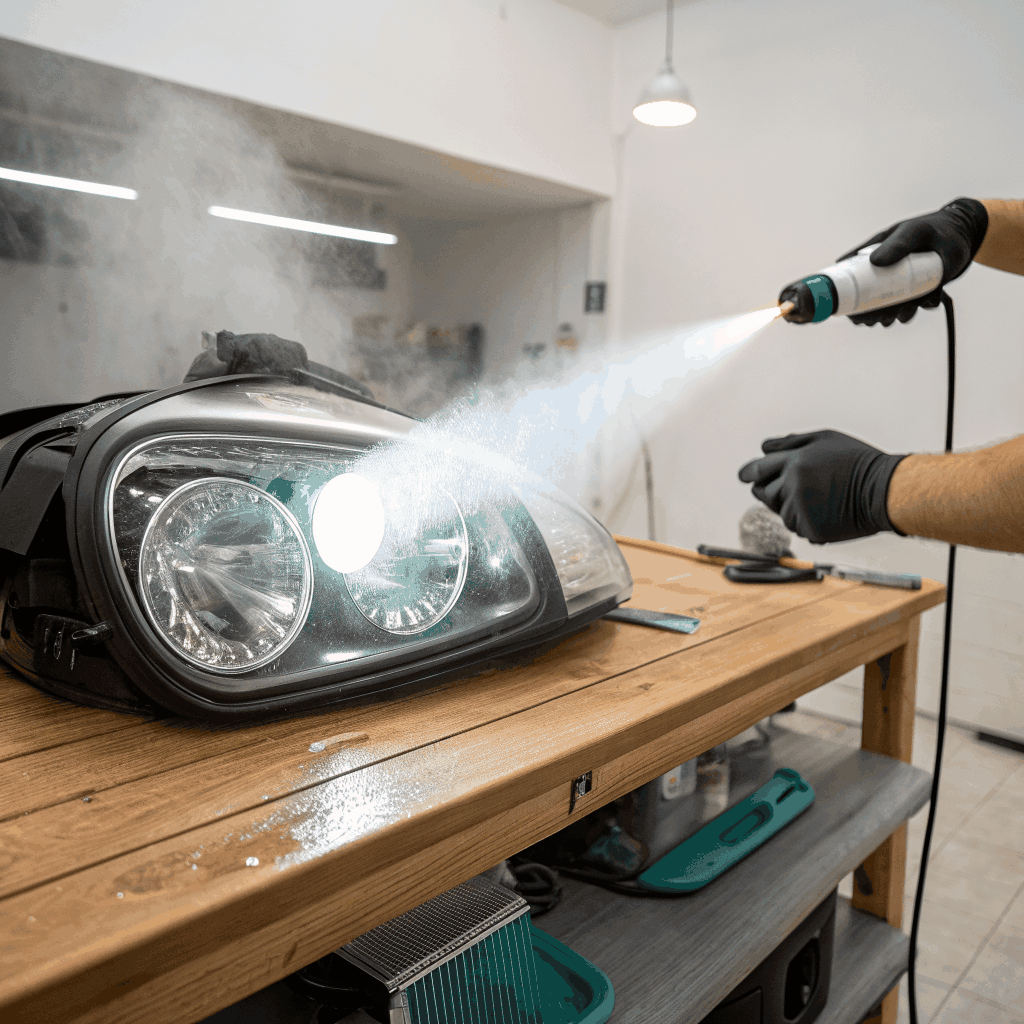
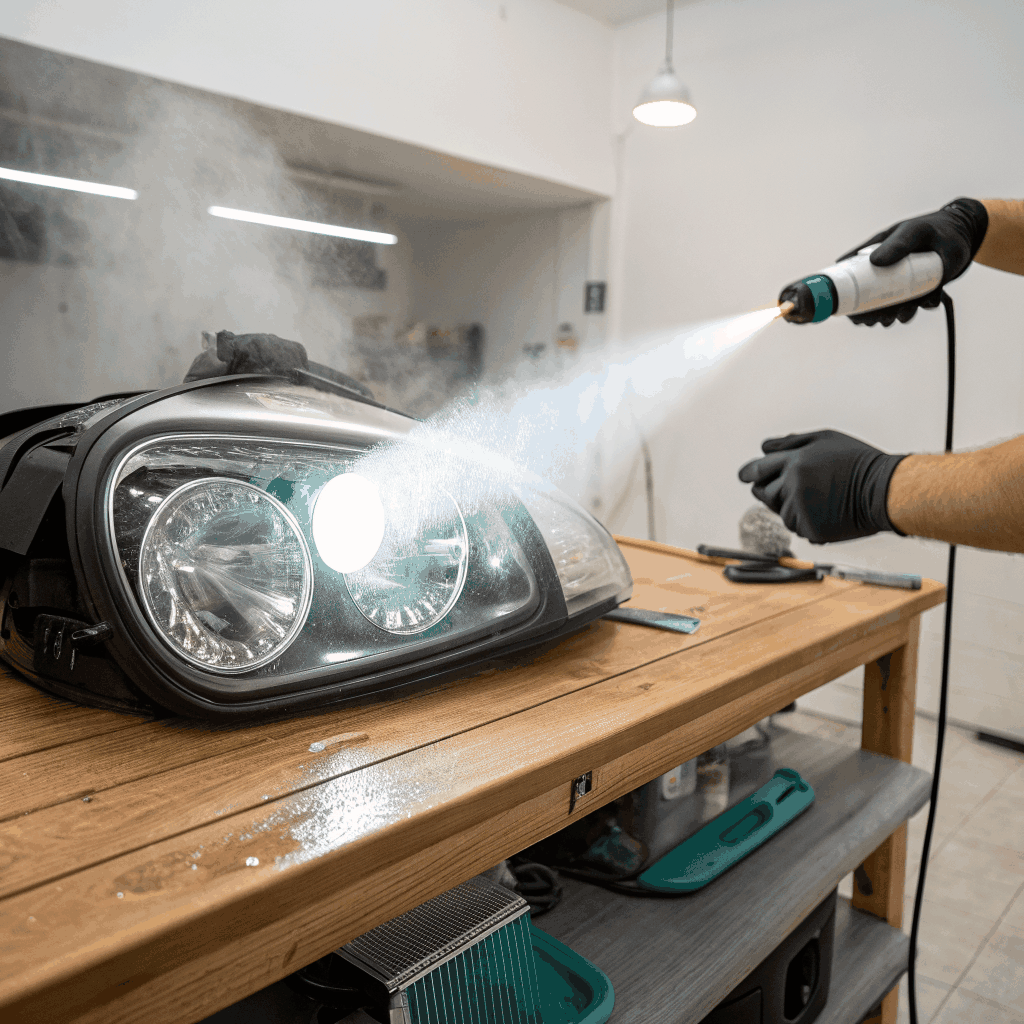
Watch our detailed video guide that walks you through every stage of restoring a foggy headlight, from sanding to sealing.
In this tutorial, we break down the process into clear, manageable steps so you can achieve professional results without the need for expensive equipment or a lot of experience.
What You’ll Need
- Sandpaper (400, 800, 1200 grit)
- Polishing compound (medium and fine)
- Headlight restoration kit (sealant, UV-resistant coating)
- Microfiber towels
- Protective gloves and safety glasses
Step 1: Preparation
- Clean the headlight surface with soap and water, then dry thoroughly.
- Inspect for cracks or deep scratches; if present, note that a full restoration may not be possible.
Step 2: Sanding
- Start with 400 grit to remove the outer haze layer.
- Progress to 800 grit, then finish with 1200 grit for a smooth surface.
- Keep the headlight wet to avoid clogging the sandpaper.
Step 3: Polishing
- Apply medium polishing compound and buff with a microfiber towel.
- Switch to fine compound for a high‑gloss finish.
- Use a circular motion to avoid swirl marks.
Step 4: Sealing & Protection
- Apply the UV‑resistant sealant according to the manufacturer’s instructions.
- Allow it to cure for the recommended time before use.
Step 5: Final Inspection
- Check for even gloss and no remaining haze.
- Test the headlight in low‑light conditions to ensure optimal visibility.
Why This Tutorial?
Our video demonstrates each step in real time, so you can pause, rewind, and practice at your own pace. Whether you’re a hobbyist or preparing to launch your own headlight restoration business, this guide provides the foundational skills needed for consistent, high‑quality results.
Ready to get started?
Click the play button below and transform that foggy headlight into a crystal‑clear beacon of safety.