Manual vs Orbital Polishing: Which Method Wins for Headlight Restoration?
When it comes to restoring cloudy or yellowed headlights, the debate between manual and orbital polishing is a common one. Both techniques can deliver a crystal‑clear finish, but they differ in effort, control, and the final outcome.
Manual Polishing
- Hands‑on control: You dictate speed, pressure, and direction.
- Ideal for small, stubborn spots: The tactile feel lets you spot‑treat imperfections.
- Higher skill requirement: Consistent pressure and motion are essential to avoid swirl marks.
- Time‑intensive: A thorough job can take 30–60 minutes per headlight.
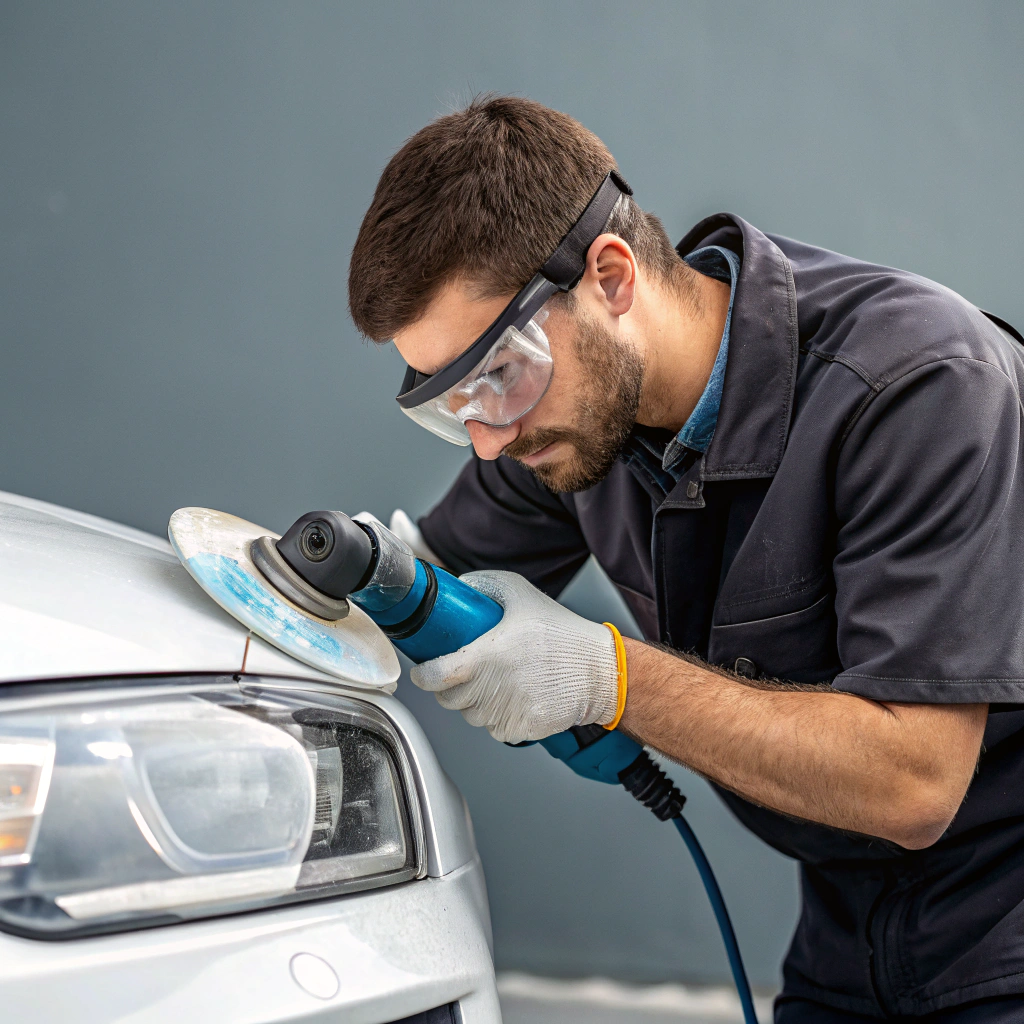
Orbital Polishing
- Consistent motion: The machine’s orbital pattern delivers uniform coverage.
- Less fatigue: You can work longer without hand strain.
- Great for large surfaces: Faster overall turnaround.
- Risk of over‑polishing: If the machine’s speed is too high, you may strip the compound or create a glossy “flash” effect.
Choosing the Right Compound
- Cutting compound: Use a 30–50 µm abrasive for heavy oxidation.
- Finishing compound: Switch to a 6–12 µm polish for the final shine.
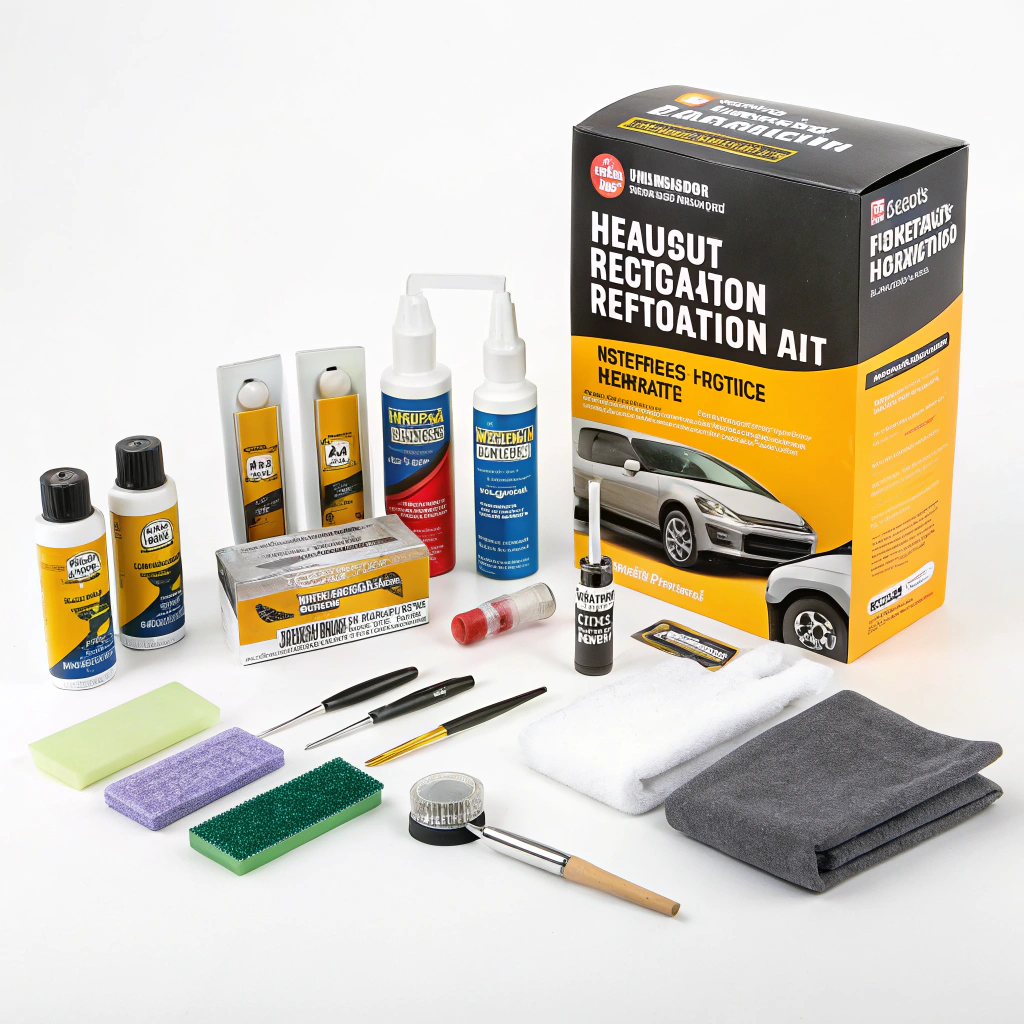
- Hybrid compounds: Some products combine both stages, reducing the number of passes.
Pressure Management
- Manual: Keep pressure light (≈ 5–10 lb) and move in a circular pattern.
- Orbital: Set the machine to a low‑to‑medium speed (≈ 200–400 rpm) and use a light touch; let the pad do the work.
- Check for swirl marks: Inspect under bright light; if you see a pattern, adjust pressure or pad type.
Bottom Line
- Manual polishing offers precision and is best for spot‑treating or when you’re comfortable with a hands‑on approach.
- Orbital polishing excels in speed and consistency, especially for larger headlights or when you need a quick turnaround.
Whichever method you choose, start with a clean surface, use the correct compound, and always test a small area first. With the right technique and pressure control, you’ll achieve a showroom‑ready headlight finish every time.